Monday, June 30, 2014

New Guest Book Designs

I've been on quite a listing spree lately with new items in the shop! One area where I've had several custom requests is for guest books. I love making a wedding even more special with a custom book! Something the couple can keep long after the wedding day festivities.

My favorite new design is this Eiffel Tower Book. I love the hand drawn look of the tower paired with the solid silhouette of the couple. I know not everyone is lucky enough to get engaged or married in Paris, but Paris-themed weddings are a fun idea as well :)

This Mountain Design is simple and elegant and will remind the couple of their beautiful wedding every time they see the cover. Can you imagine the beautiful photos of a wedding with the mountains in the background!


This Quote Book could be used for a guest book, journal, photo album, travel journal, etc. I can engrave any quote in several different font choices. I've already made one for a retiring teacher and another for a father's birthday gift. The possibilities are endless!

And I've made two more small book designs this week that I need to get finished and photographed as well!

Friday, June 27, 2014

Friday Features - Get Outside

I'm happy to report that I actually made it outside this week! I got to spend some real time in the sun...not just to and from the mail box!
On Monday I went golfing with a friend. I haven't golfed in several years, so my score was less than stellar, but it was so great to get out and enjoy the summer sun! And on Wednesday we hung out at a campground with an old coworker who was in town. It was by a lake and we grilled out and enjoyed the sun again! I'm hoping to get out this weekend as well :)
So today's features are all about getting outside!

Clockwise from top left:

I hope you are able to get outside this weekend :)

Thursday, June 26, 2014

Pink & White Acrylic Clock

Something I've been wanting to make for my new studio since I moved in was a clock. I'd seen some really cool clocks made with a laser and knew I wanted to try my hand at one. I have to say...I'm so excited with how it turned out!!!

At first I was just going to have a pink face with the numbers cut out and white acrylic behind the numbers. But once I started putting the pieces together, it looked kind of boring.

In the process of cutting out the white ring to put behind the numbers, this left me with another white circle cutout. I played around with it for a little while trying to decide if I liked it on top of the pink clock face. Then the idea came to me to cut out a pretty design!

In the end, I didn't even use the white ring to put behind the numbers, I liked the cutout look. But that step led me to the white center of my clock which I think really finishes the clock of nicely!

 This is something I do hope to eventually add to my shop. I have a few other colors of acrylic on hand, but would like to add a nice variety of options. And I need to find a good source for clock hands as well. I would like to offer a variety of these as well, like black, gold and silver.

What do you think?

Wednesday, June 25, 2014

Wordless Wednesday - Busy Weekend

How I spent my weekend :)

Tuesday, June 24, 2014

A Special Gift for Katie

I recently had a friend in town visiting from Arizona. One thing I got to do with my friend was attend her daughter's 4th birthday party. I knew I wanted make something special for little Katie. She's very girly and loves pink and dressing up, so I thought a special necklace with her name on it would be perfect!

I cut the necklace from acrylic with my laser and added a couple jump rings and a silver chain to finish it off. (note to self, remember holes for jump rings next time!) The necklace turned out so cute and little Katie just loved it. She wanted to put it on right away. (note to self 2....remember to get a picture next time!) The only problem was...it wasn't quite strong enough to hold up to a 4 year old! By the end of the night it had already broken.

So back to the drawing board I went to design a new necklace that Katie can wear for much longer :) I decided that the letters only being attached at the bottoms was where the weakness was. I put a rectangle border all the way around the name (and added jump ring holes this time!) which made the whole necklace much stronger.

 
I can't wait to give the new necklace to little Katie. I'm confident this one will last much longer :)

Monday, June 23, 2014

Eat, Drink & Be Married

About a month ago I was asked to make a custom recipe book with Eat, Drink & Be Married on the cover. I loved the quote and design and knew I wanted to make a recipe book in the size and shape I offer in my shop. Over the weekend I finally had some down time and got it added! It can be purchased as is, or the bride and groom's names and wedding date can be added as well.

I love this quote so much and knew it would be perfect for other items in my shop as well. I decided to add it to a cutting board.

And a recipe box.
I'm also hoping to make some custom cards soon to make these boxes into guest book alternatives. One side of the card will have room for a message for the bride and groom. And the other side will have name, address, email and phone information. So the box is useful after the wedding and still has those special wedding wishes in it :)

Friday, June 20, 2014

Friday Features - Pink Storage

Organization is always something I struggle with. Well, stylish organization, I should say. I can always tell you what pile something is in...lol! So I'm always on the look out for new ways to stay organized. And with my new studio, I don't want things looking all cluttered all the time. So I went in search of some stylish storage for my new studio...in pink of course :)

Clockwise from top left:

What's your favorite piece of storage/organization in your house or studio?

Thursday, June 19, 2014

Invest in Your Business

Investing in your business can really make a difference in your productivity, efficiency and your bottom line. While something may seem expensive at first, when you weigh the benefits of an investment, it can be much more valuable than its dollar value. Take my laser for instance...had I never made the investment to buy my machine, I may never have had the opportunity to be self-employed full-time.
While not every investment is life-changing, there are little things that can make your work easier and more efficient, making you more productive and in the end, more profitable.

I recently purchased a commercial grade paper cutter. After owning several other paper cutters and never being quite happy with any of them, I decided it was time to make the investment. While most paper cutters will cost $20-$50, this one was around $200. But worth every penny!

Other paper cutters in the retail/scrapbook section are generally made out of some kind of plastic. My old cutter had a plastic cutting mat that had to be replace quite often. And the guide rail was plastic as well, meaning I never got a true straight cut. This always bothered me!

 
One thing I love most about my new investment is its all metal cutting system. The piece itself is wood/fiberboard, but the cutter, guide rails and cutting "mat" are all metal. And while this system is self-sharpening and should never need replaced, another thing I liked about this model and brand is that they do offer replacements should you need one. I owned a nice cutter a few years ago, but needed a new blade. The company didn't even offer replacement blades since they were never supposed to wear out. They obviously don't cut paper like I do...lol!

My new cutter has made my work easier and faster, making me more efficient and productive. So I encourage you to take a look around your craft room and see where you could use more efficiency. Where a piece of equipment or a tool would make your job easier and better. I encourage you to invest in your business and you'll see the benefits in the end :)

Wednesday, June 18, 2014

Almost Wordless Wednesday

Mama Kitty is enjoying the new studio (when she sneaks in), but Harley is keeping a watchful eye on her :)

Monday, June 16, 2014

Fun Guest Book Designs

As most of you know, I'm always up for custom orders. I love making something extra special for my customers that is truly one-of-a-kind. I've had some fun requests lately that I thought I'd share with you today :)
 
This book traveled all the way to Croatia for a wedding. The image is Hagar the Horrible from the comic strip. I thought it was kind of a funny request for a wedding book, but loved that it was so personal :)

 
Another fun book I got to make was for a retirement. I was able to recreate the logo of the school the teacher is retiring from, making the book a special keepsake.

This last book was another wedding book request. The couple is getting married in an area where parry's agave trees are very common. They wanted their book to remind them of their wedding location and wanted that specific tree on the cover of their book. I was able to take a photo they sent and turn it into a vector file that I could engrave. Talk about one-of-a-kind!

I had a lot of fun creating these books and look forward to more fun requests :)

Friday, June 13, 2014

Friday Features - Summer Tank Tops

Last week's features were all about summer sandals and this week I'm featuring tank tops. Can you tell I'm excited for Summer to get here!!! I'm dreaming of a tan while checkout out these great features!

 Clockwise from top left:

Which is your favorite?
Are you as excited for summer to arrive as I am?!?

Thursday, June 12, 2014

Studio Update - All Moved In

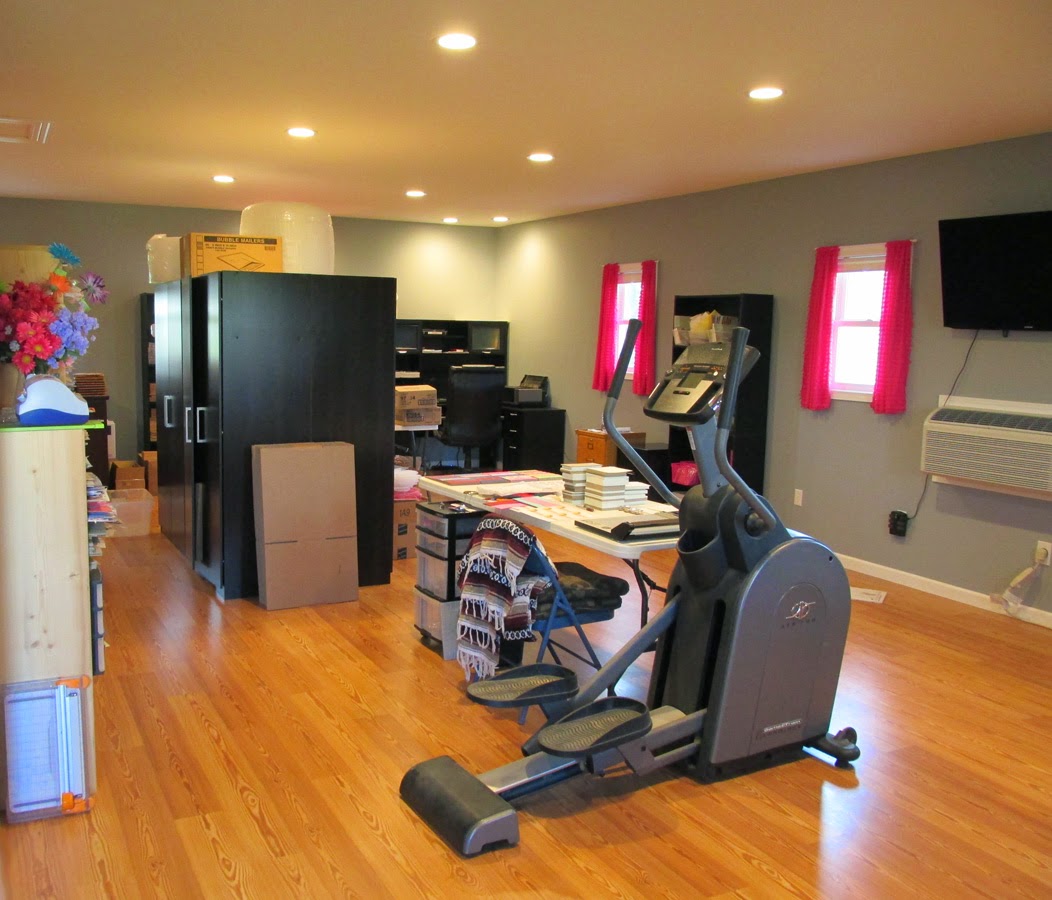
I'm happy to announce that I'm all moved into my new studio!!! I've been working in here full time for a couple of weeks now and I must tell you that I LOVE this place! I love having lots of space and not having to step over things all the time. It's still a work in progress as I figure out what works best where, but it's coming together nicely. Let me take you on a little tour.

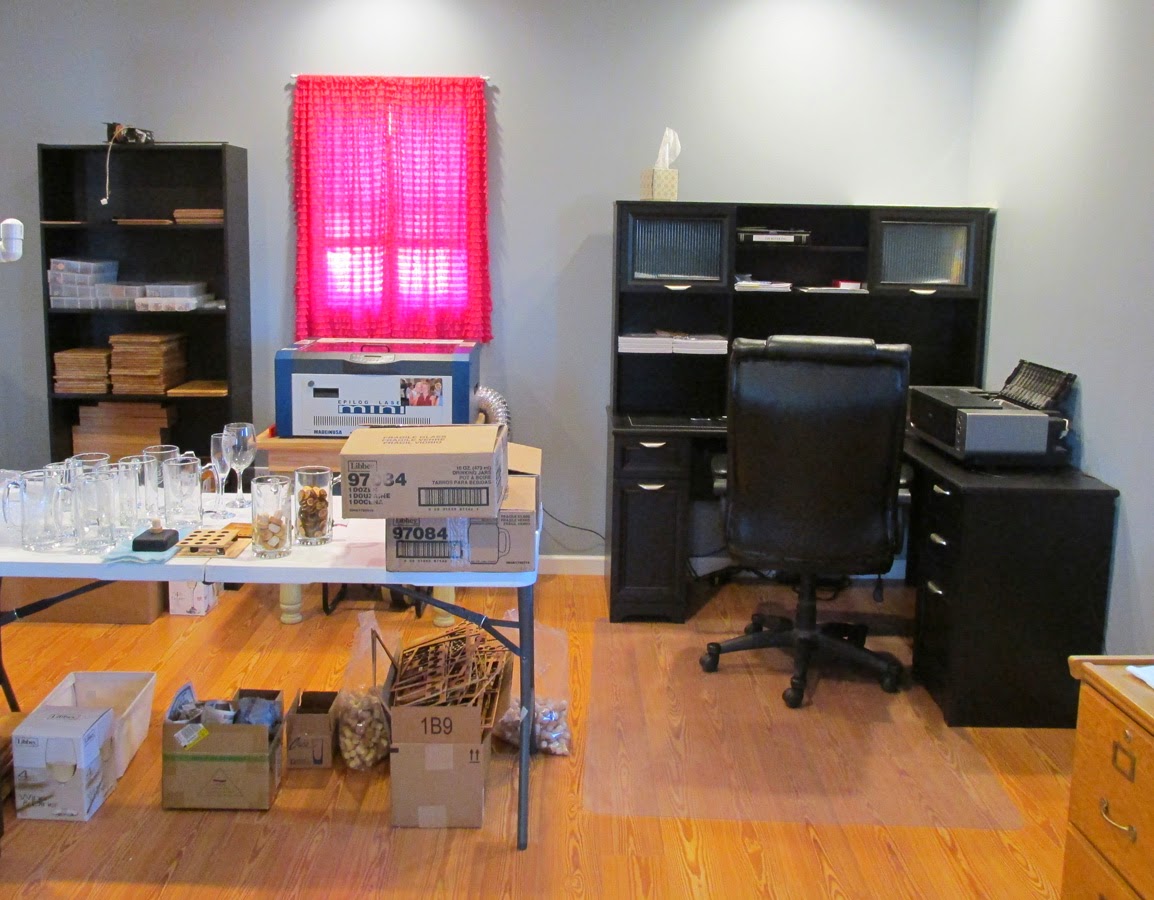
Here is the view from the front door. I have a work table set up (and I can watch TV!) and several shelving units down the center of the room.
 Directly behind my work table is the shelf my Uncle Dave built me. It holds all my scrapbook papers and some other supplies I use often as well.
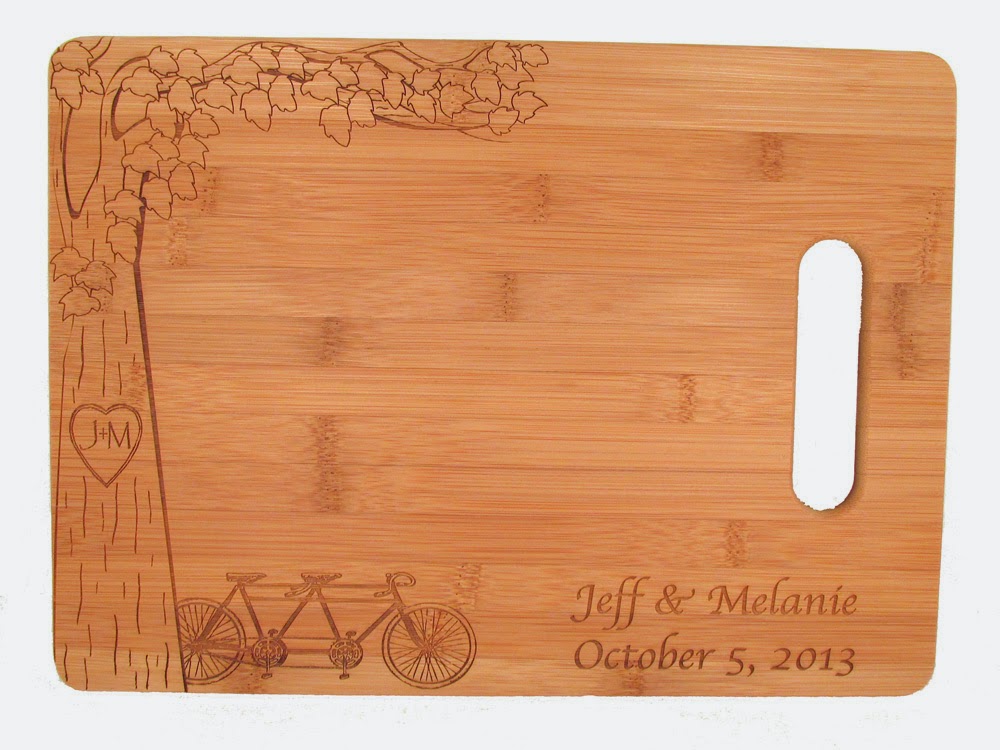
 Here is the corner where all the magic happens :) In the left of the photo is a shelf that holds a lot of my wood supplies like wood sheet stock and cutting boards as well as organizers with cuff links and earrings. (this self sits next to my shipping station as well). Under the widow (with my awesome pink curtains!) is my laser. The table that looks like a huge mess is my "holding station". I need a place to put things as they go in and come out of the laser. So this table is usually full! And my awesome desk is hanging out in the corner.
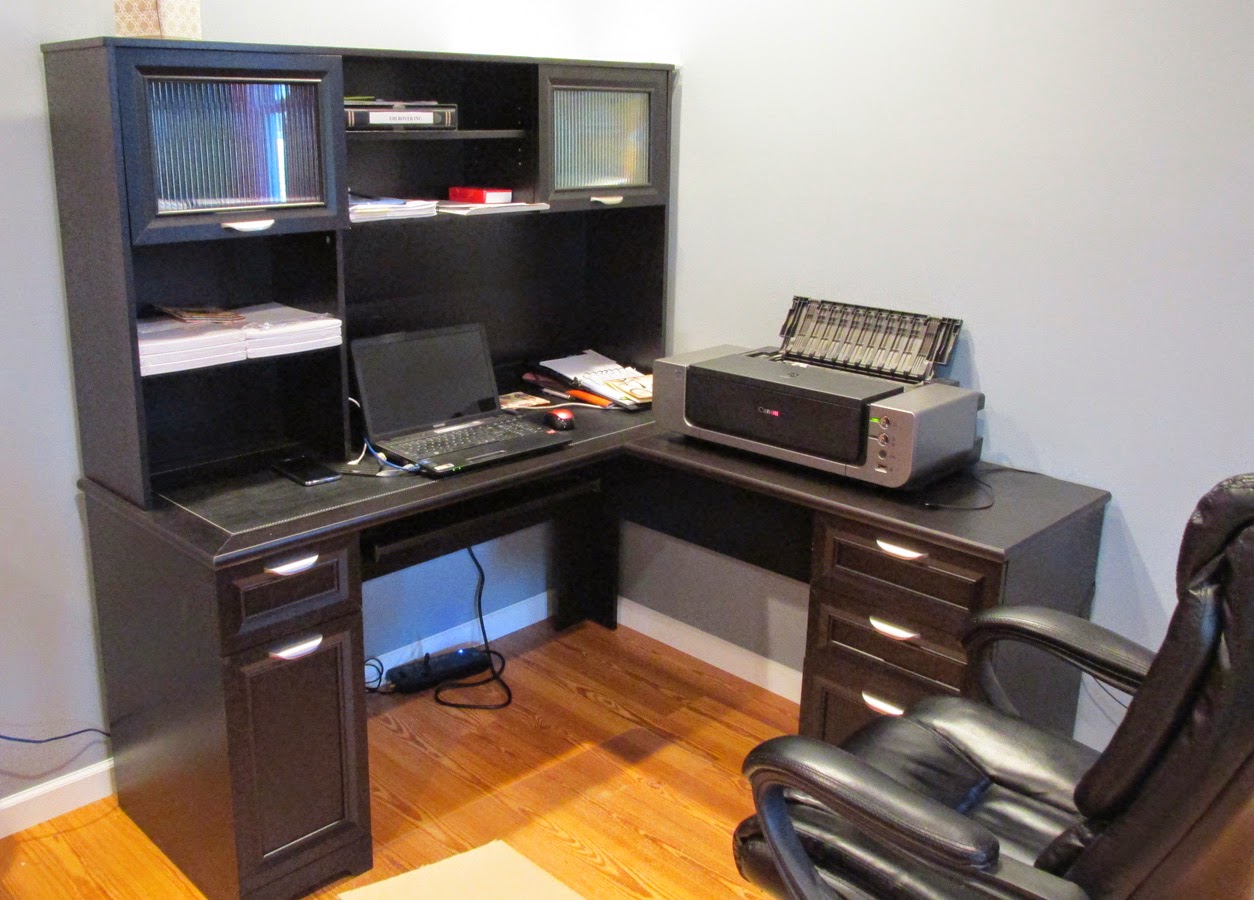
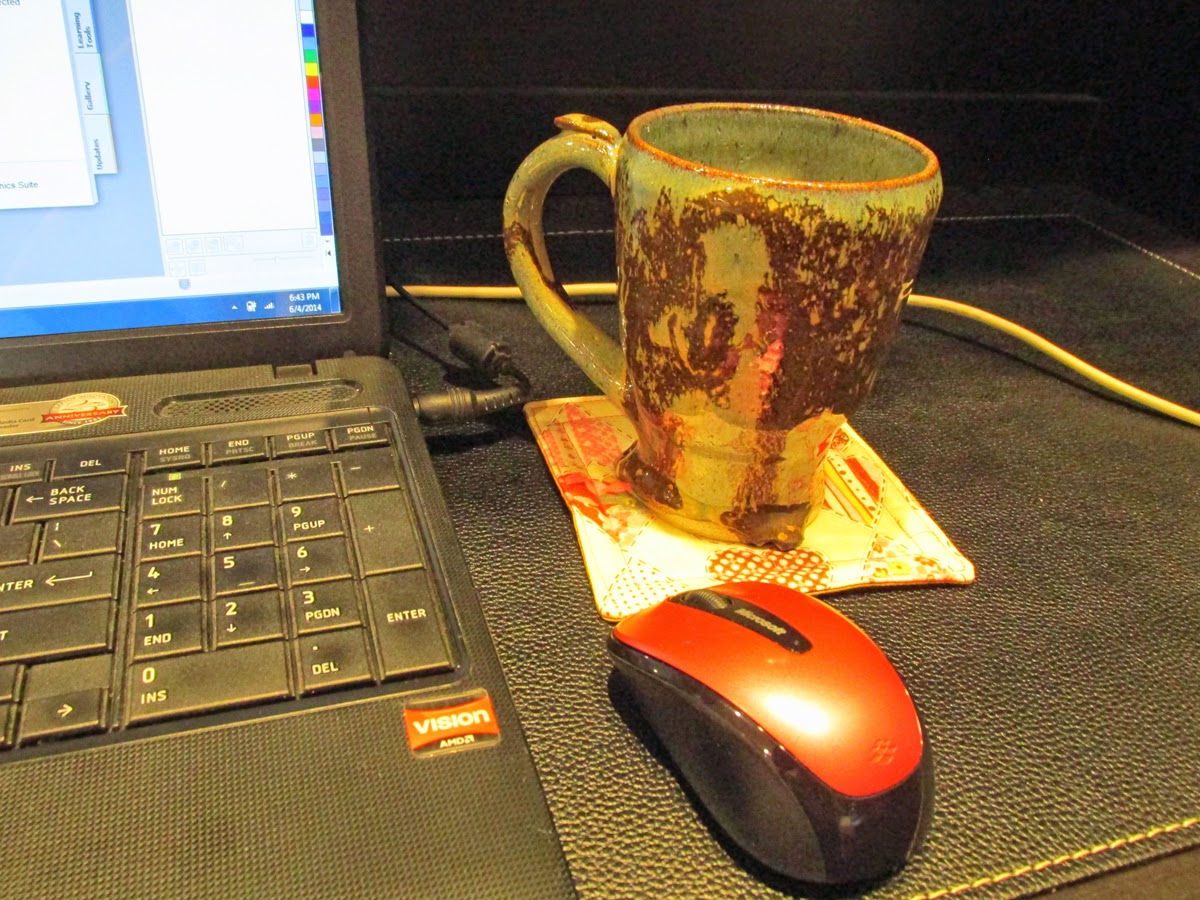
 I love having a nice big corner desk! And lots of storage too! The only thing I need to figure out is where to put my printer. I had forgotten how BIG it is! It's in the way when I want to use my mouse and when I open the front door so paper can come out, it's really in the way. I have another small desk/end table that I might set next to my desk for my printer. Otherwise it will have to go up on top.
 This may sound crazy, but one of my favorite areas in the new studio is my "kitchen" area. Almost everything I make has to be washed, so it's nice to have a dedicated area for this. I love the large counter space for drying things! And I don't have to fight over space with dirty dishes anymore...lol! And check out that awesome pink rug!
 I also love my sparkly pink door knobs! I can't believe how many options there are for door knobs...and how expensive some of them are! Hello wooden door knobs for $1.99 (for a 2-pack) and spray paint!
 
Another area that I'm really excited about is my shipping station. My old "shipping station" consisted of our love seat and 1/2 the living room! I had seriously taken over the house with shipping supplies and inventory! This desk (compliments of my mom!) is so perfect. It is perfect to stand at and holds all the supplies I use on a daily basis. I bought two gray trash cans (they didn't have pink) to fit under the desk. One holds air pillows and the other holds packing paper. I recycle all the shipping supplies I can and these cans work great.
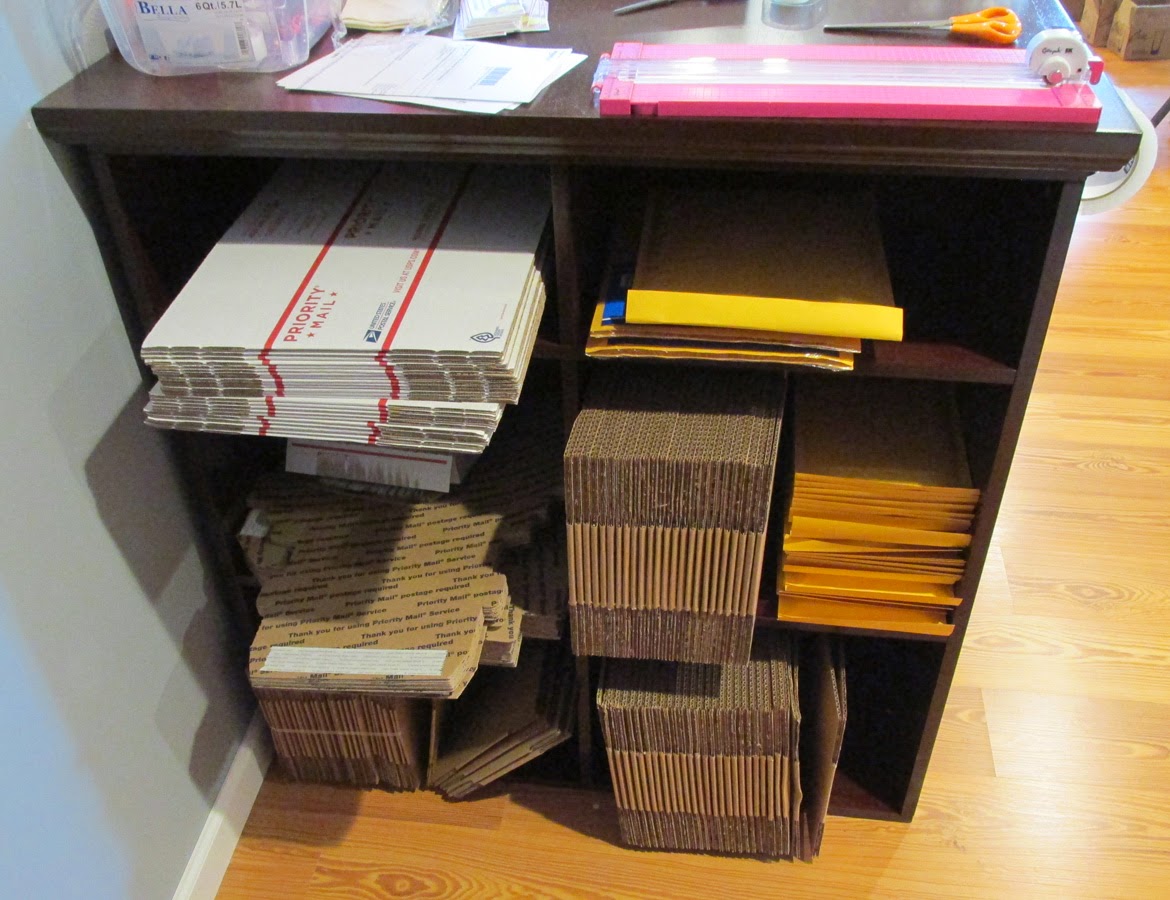
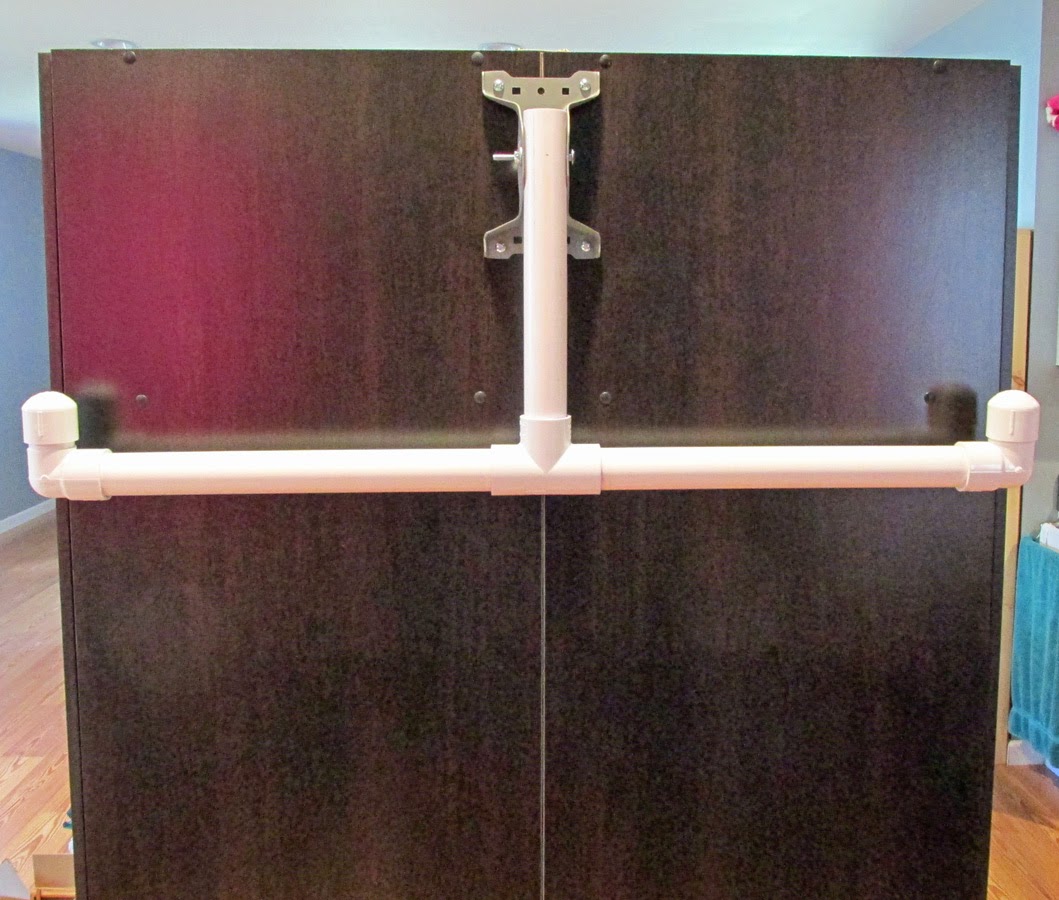
 What's even better is the sides of the shipping station...look at all those cubbies! And they're on both sides!
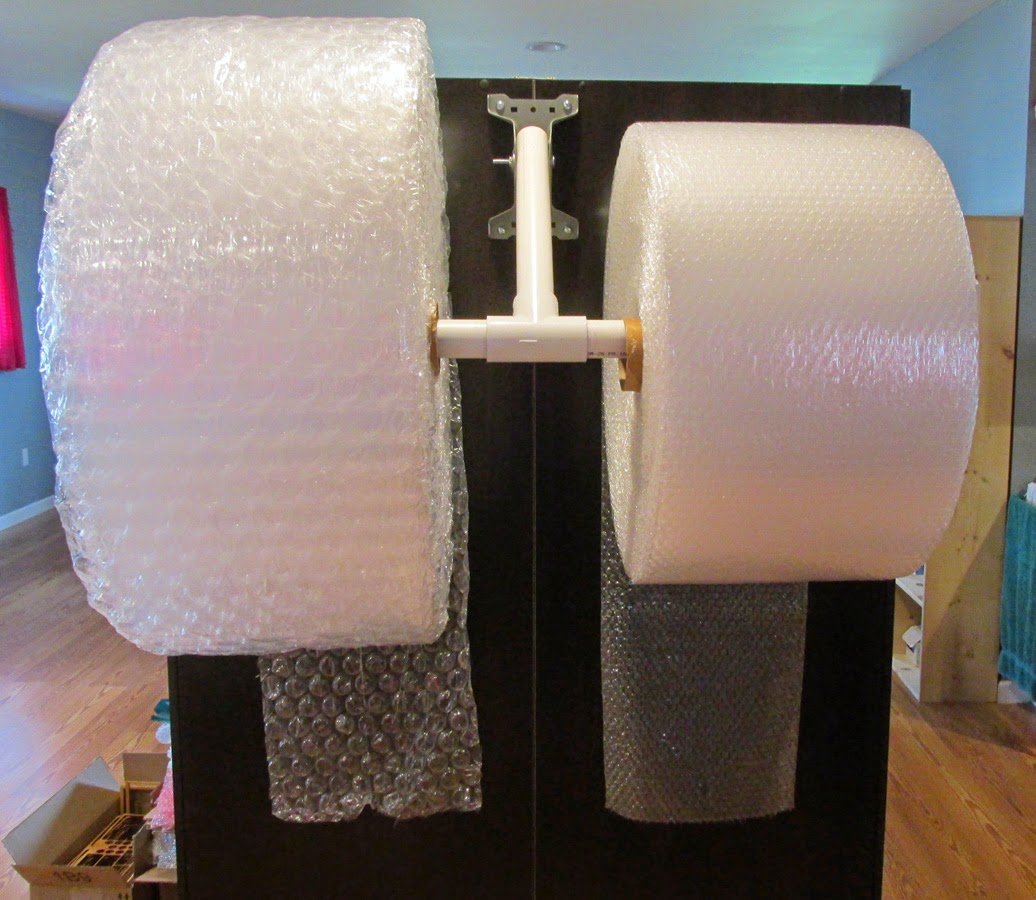
 I also have one of my shelving units full of boxes as well. This unit sits right behind my shipping station and holds my fancy bubble wrap dispenser (compliments of my dad!).
 
Next to my shipping station is my "drying rack". This is actually an old entertainment center that Jesse built that we no longer use. I had used it as a drying rack when I'd taken over the rest of the house and it seems to work great, so we moved it to the new studio. All of my wood gets rinsed and laid flat to dry before shipping
 
 I'll end you with a picture of my awesome curtains! A friend of my mom's made these for me and I LOVE them! They bring so much color to the room!

As you can see, I haven't had a chance to decorate anything yet! I have a few things in mind that I want to make myself, then I need to do some shopping. I did finally buy a world map so I can mark all the locations I've shipped to. I just need to figure out exactly where I want it. I'm sure I'll move things around more before I'm all settled in. But for now, I'm just happy to have a place to call my own :)


Wednesday, June 11, 2014

Tuesday, June 10, 2014

New Cutting Board Designs

One of my best selling items in my shop is my custom cutting boards. My favorites are definitely the handwritten recipe ones, but I'm always looking for new designs to add to the shop. Thanks to some custom requests (thanks again to my awesome customers!) I have 3 new designs ready to go in the shop.

This Floral Butterfly Design was a request for a Mother's Day gift, but I think it would work well for a wedding gift as well. I have this design on a guest book and invitations, so the whole set could match!

Tandem bikes are still on trend. I love this cute tree and bike design. I like that with this design you could use the front and back for cutting without hurting the design.

 
I had another tree request with a pair of love birds. This would be a perfect wedding gift :)

Some other designs I hope to create and add soon:
*Anchor
*Mason Jar
*Eat, Drink & Be Married
*The quote about cooking with wine

What other ideas do you think would be cute on a cutting board?

Friday, June 6, 2014

Friday Features - Summer Sandals

Summer is almost here! The weather is warming up and I've even had shorts on already...lol :) Which means that it's also sandal season. Every store I go into lately, I have to check out their sandal selection. And this week I've been searching Etsy for cute sandals as well. These 4 have my name all over them....choice, choices!
Clockwise from top left:

Which is your favorite?

Thursday, June 5, 2014

Pink + Coffee Coasters ♥

I was recently the winner of a new set of coasters! Linda of Abigail Jayne Art recently hosted a giveaway on her blog. She asked her readers to answer a question in her comments and I won! Linda knows how much I love coffee and the color pink, so the coasters she sent me are perfect!

One side has a different coffee-related design and the other has a cute pink heart design.

They've already found the perfect place in my new studio. Thanks Linda!

 
And if you're looking for a set of your own, Linda is having a closeout sale in her Pruitt Creations shop. Checkout all the great deals!

Wednesday, June 4, 2014

Monday, June 2, 2014

DIY Runs in the Family

When I built my new studio, (pictures to come soon, I promise!) one thing I knew I wanted was a bubble wrap dispenser. Before, I just had the rolls or bubble wrap laying on the couch (my old "shipping station") and they were always in the way and always falling over or unrolling. When I got online to buy one, I couldn't believe how much they wanted for one...and I actually needed two! For a metal bubble wrap dispenser, they wanted $90 EACH!

When I told my dad about what I was wanting and how I wasn't going to pay that crazy price. He said to give him a few days and he'd see what he could come up with. Luckily my dad has the brain of an engineer, so this was a perfect task for him. A metal bracket, a bolt and some PVC pipe was all it took to make my bubble wrap dispenser...and he made me a double sided one too! All for under $15!!!

I love my new dispenser! It fits perfectly on the end of my new shelving/cabinets. We put two units back to back and the dispenser fits perfectly and sits directly behind my new shipping station. I can fit a roll of 3/16" bubbles and a roll of 1/2" bubbles on the same dispenser and as the rolls get smaller, it pivots, so the rolls are always against the cabinet so they won't unroll on their own!
 

When it comes to creative ways to save money, my dad is the guy to go to! DIY runs in the family :)
Related Posts Plugin for WordPress, Blogger...